
Travel Finishing Kit
No need to pause finishing! Just bring it with you!

As you guys know, I am constantly on the road and often in an airport or flying on a plane at least once a week. It can be terribly difficult to keep up with all the finishing I need to do without bringing it on the road. Since necessity is the mother of all invention, I created a personal travel finishing kit. Today, I’ll share my what’s in my travel kit and my tips for finishing on the go.
The Kit
Since space is at premium on planes, I’ve made this as compact as possible and the whole kit fits in a small tin.
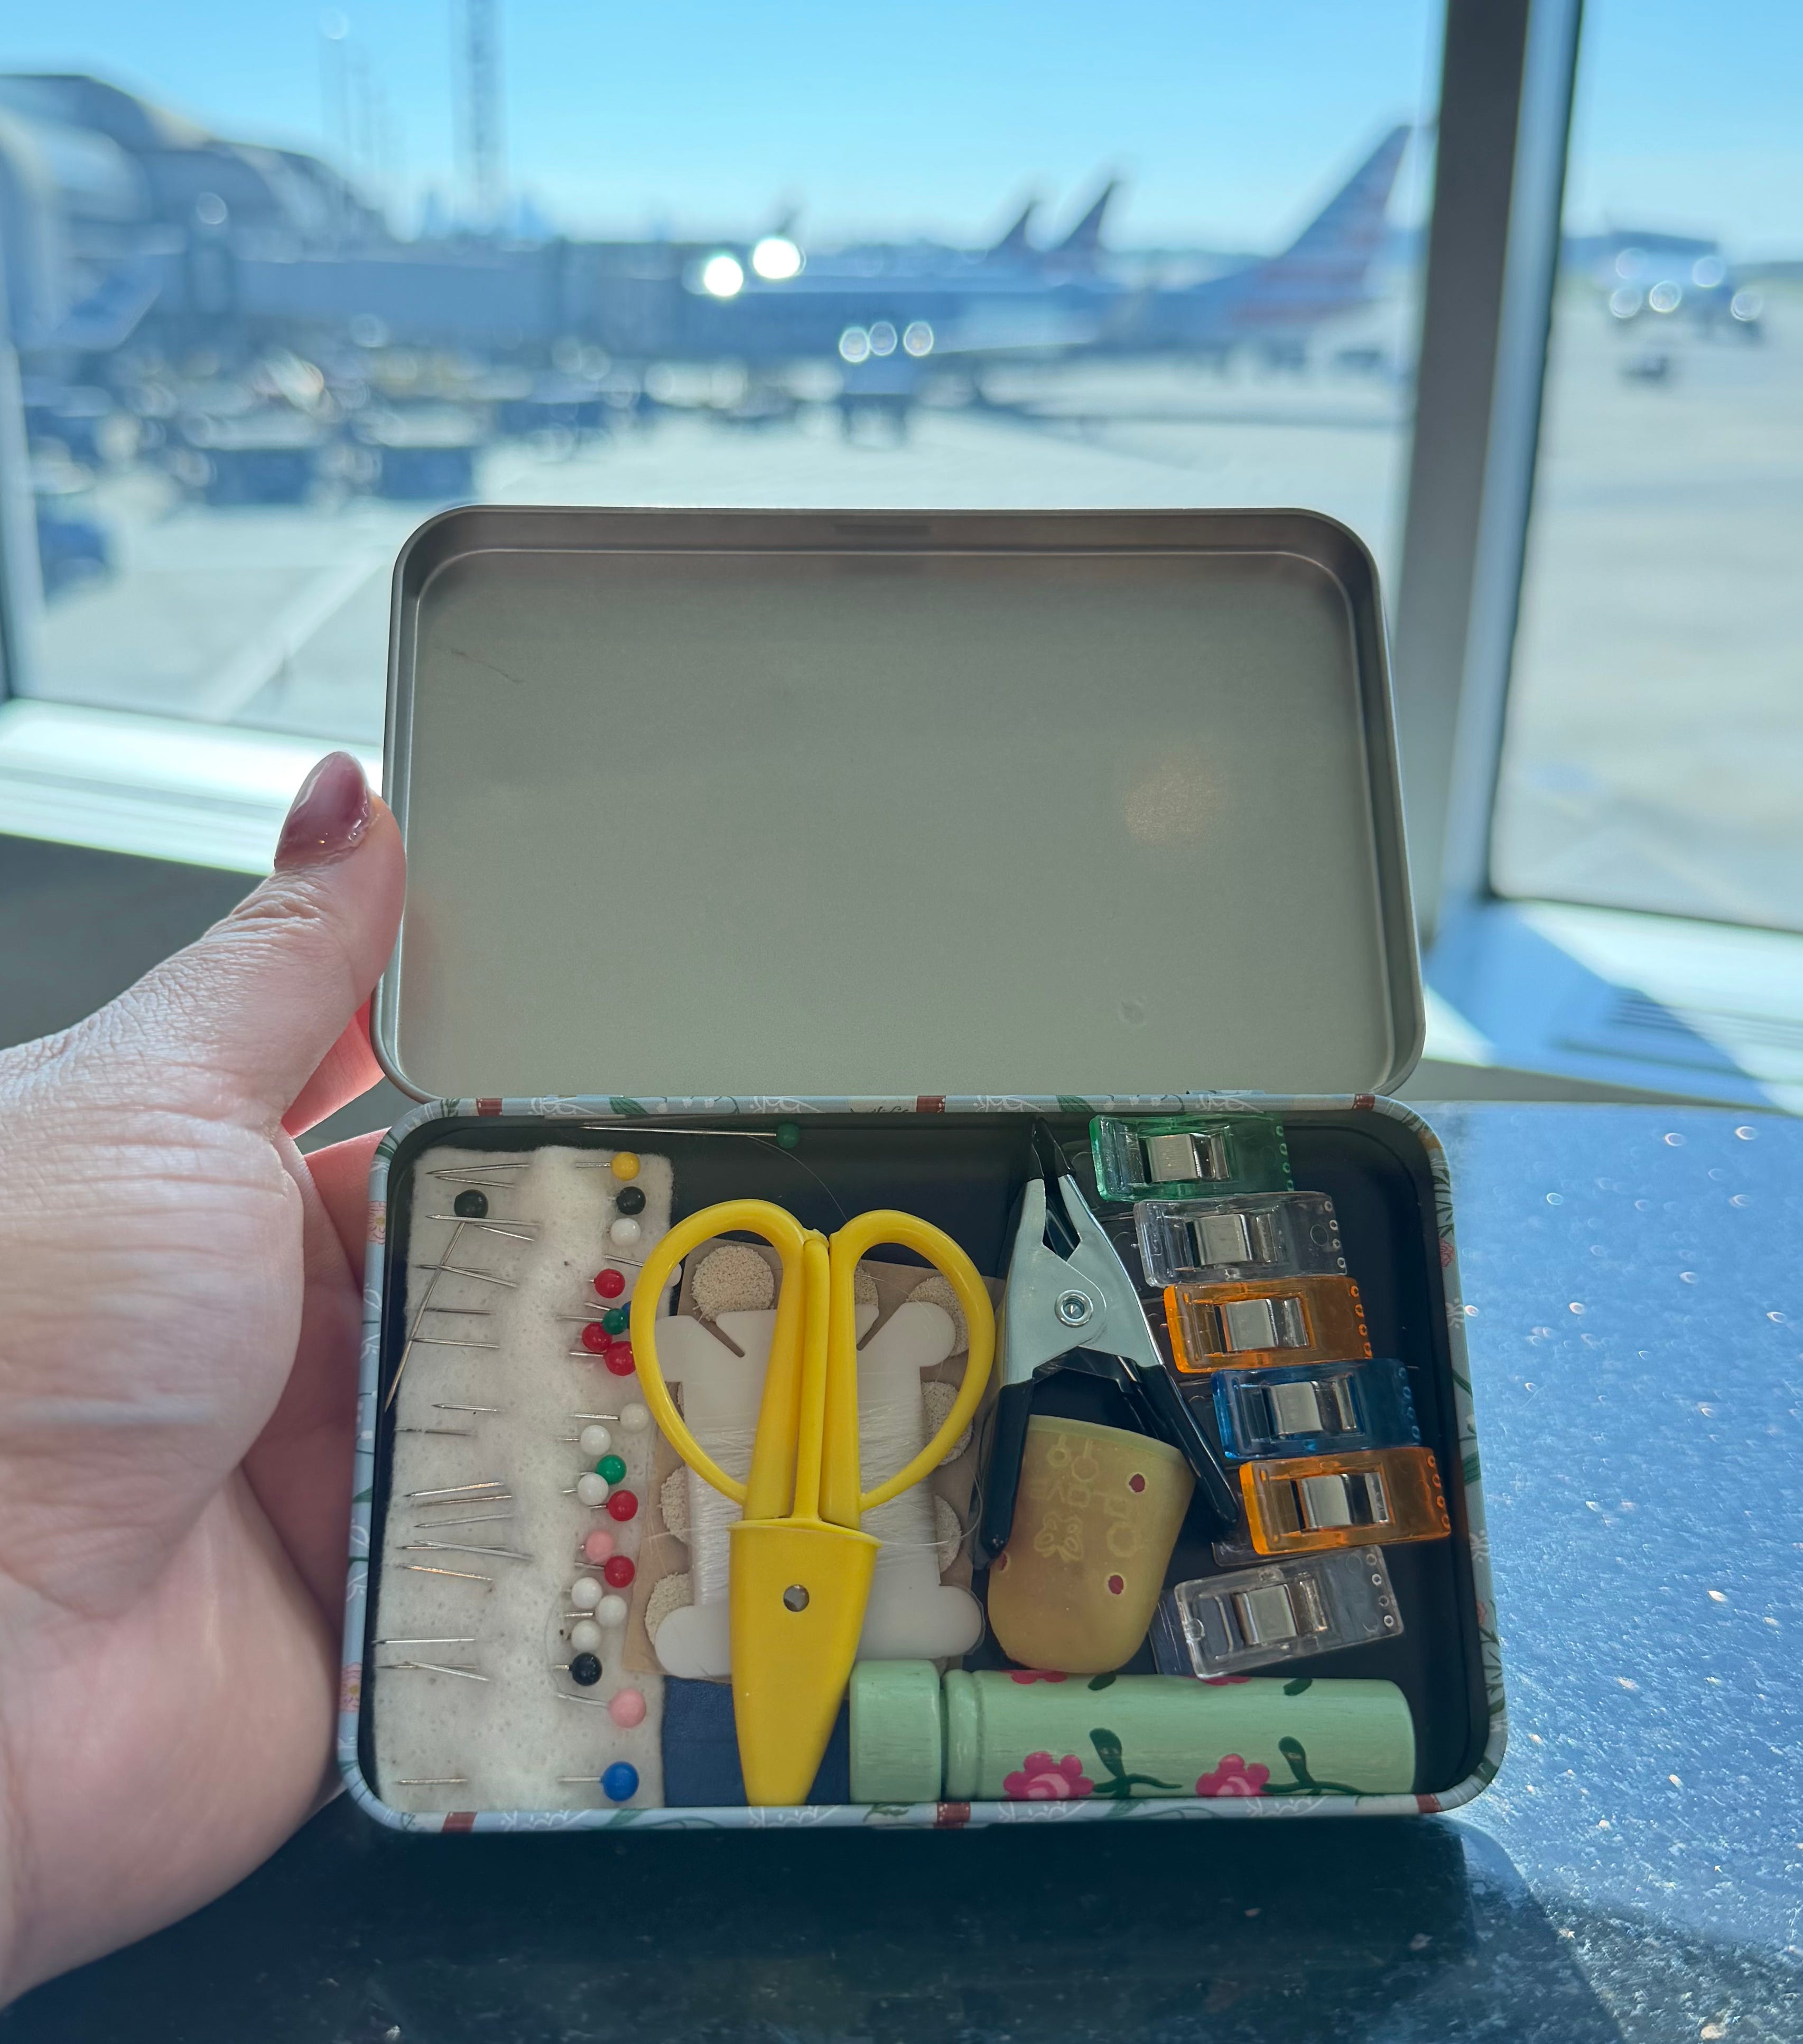
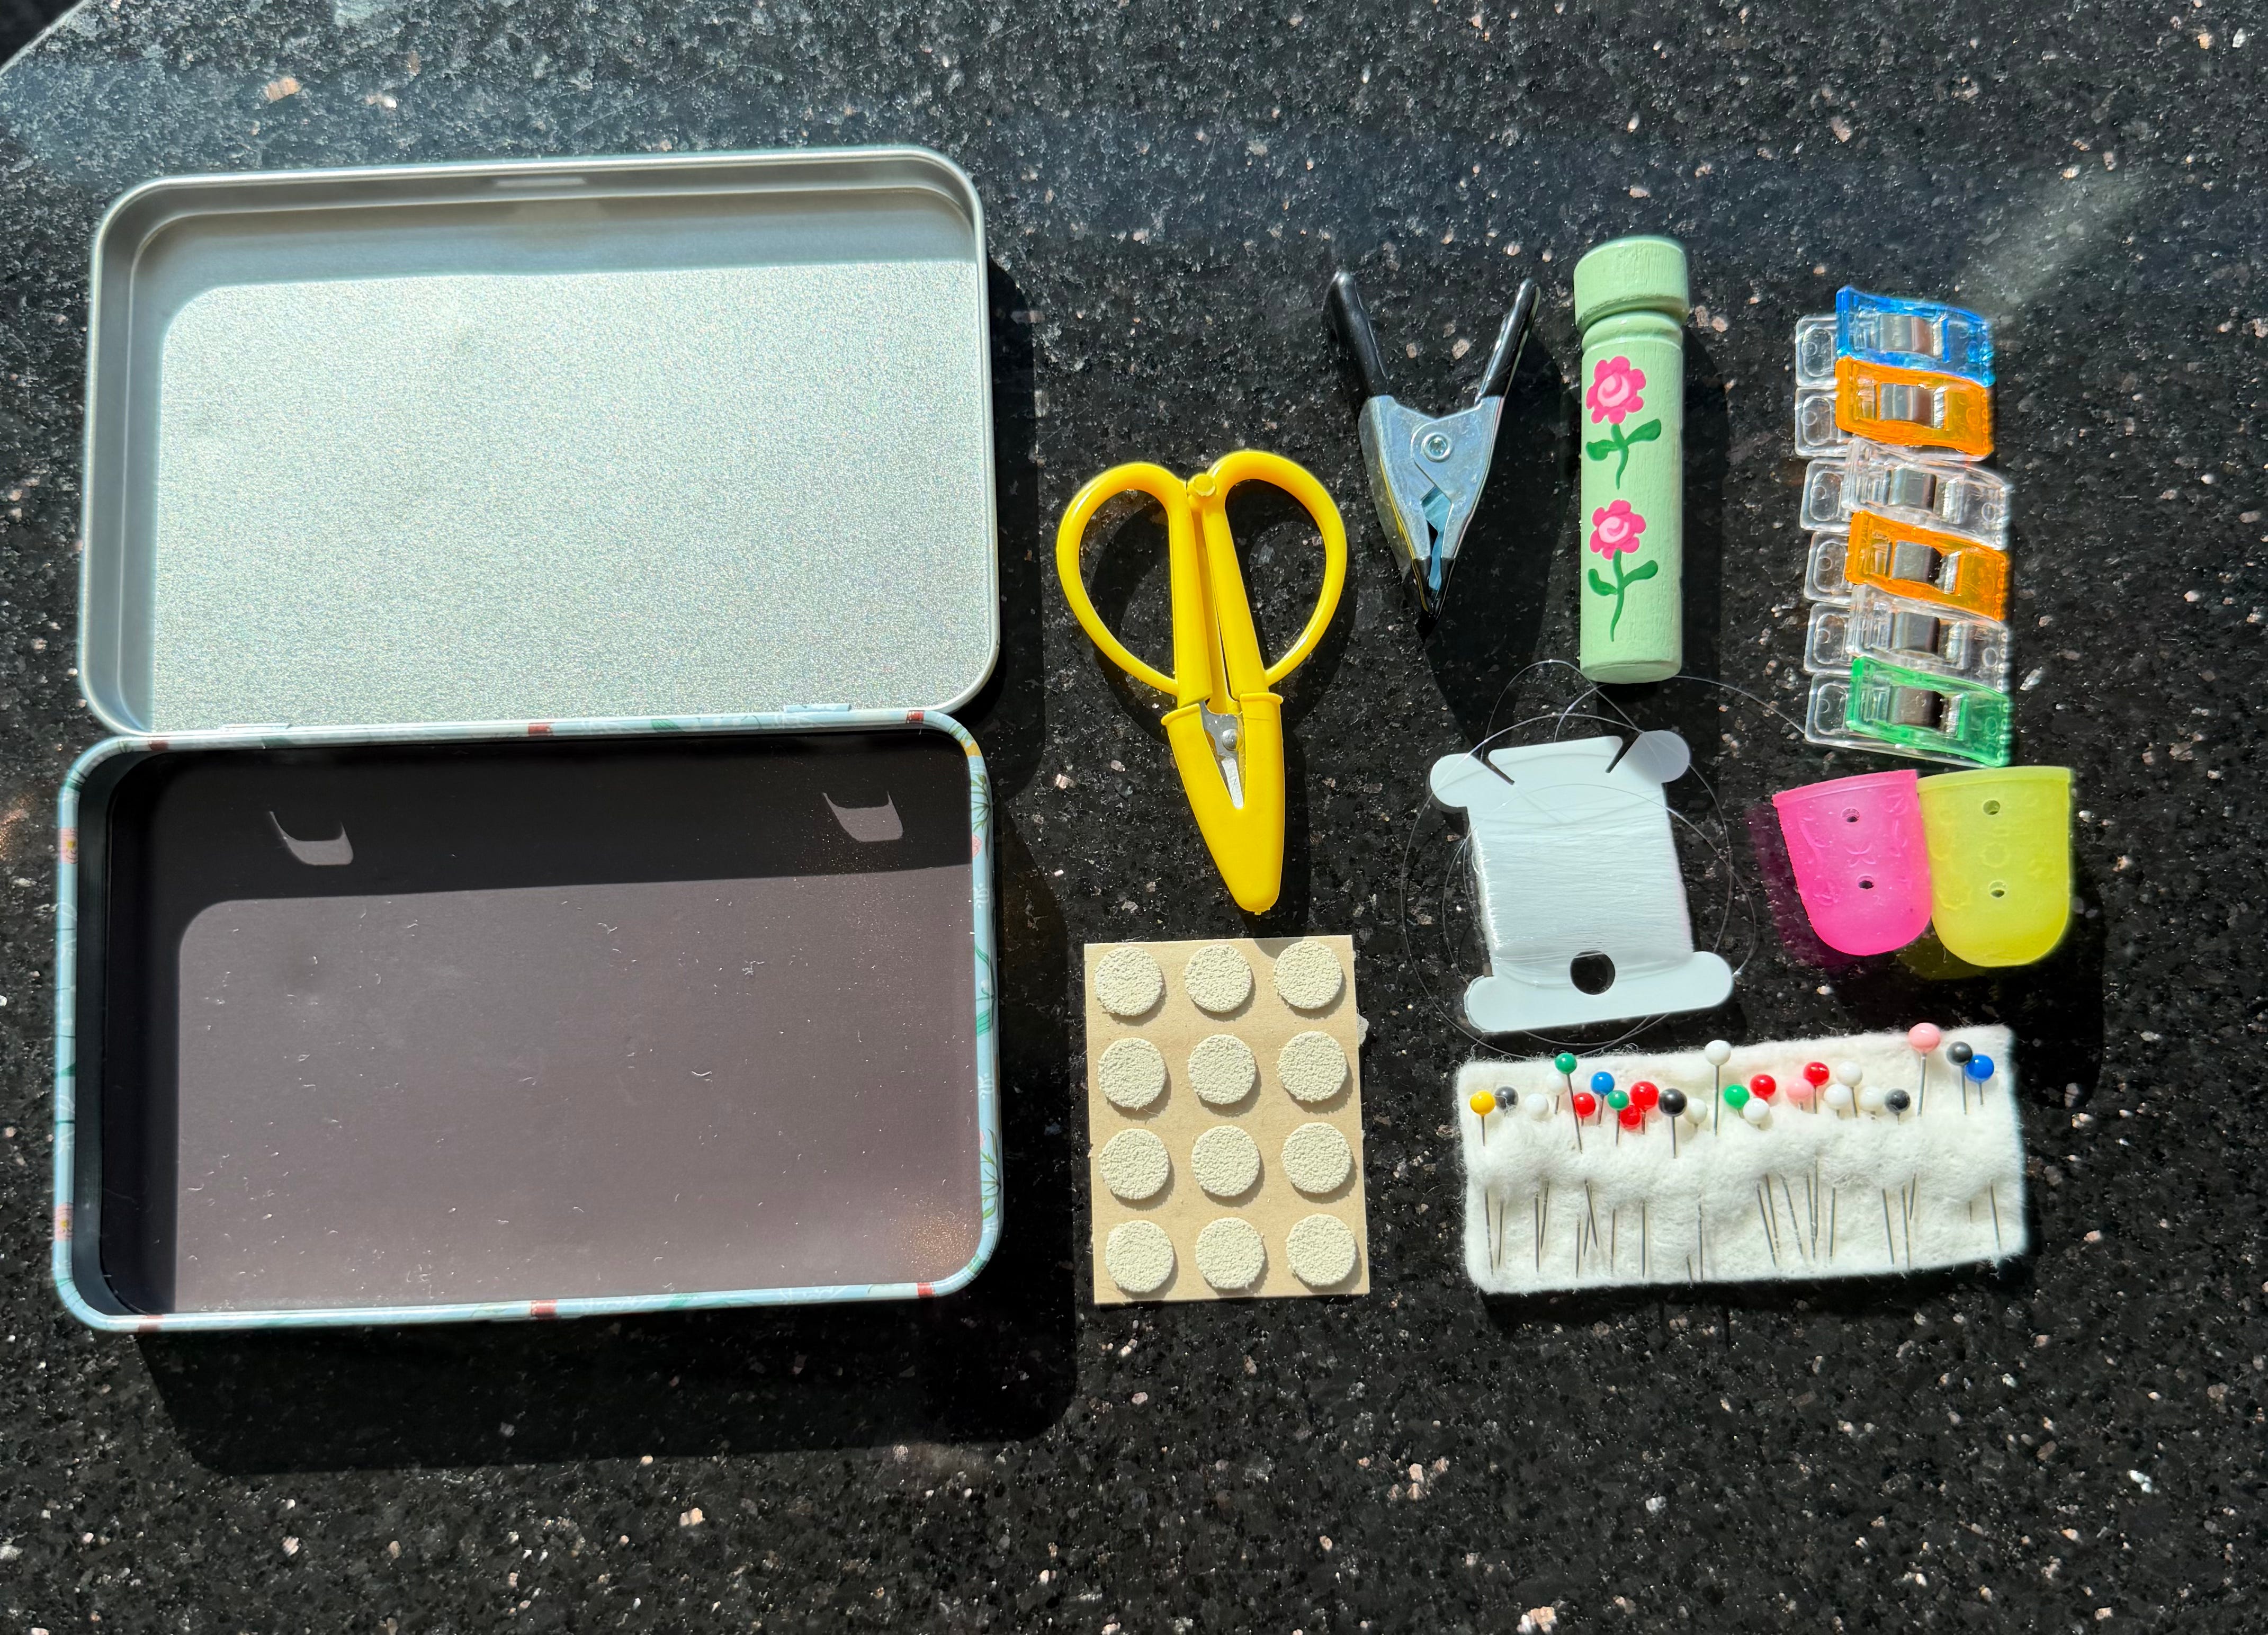
Below are the supplies in my kit. You can click on the links to find the exact products I use.
Metal needlepoint tin (Any tin or container could work, but I do like that the metal containers stick to the magnetic pad on some of the trays.)
Sewing pins tucked into scrap batting
Thread bobbin ( A piece of scrap matboard cut like an “I” also works)
The Process
When booking flights where I think I might have enough time to work on finishing, I’ll try to book window seats. While there is a personal reading light provided on most planes, nothing can beat the strong sun at 30K feet.
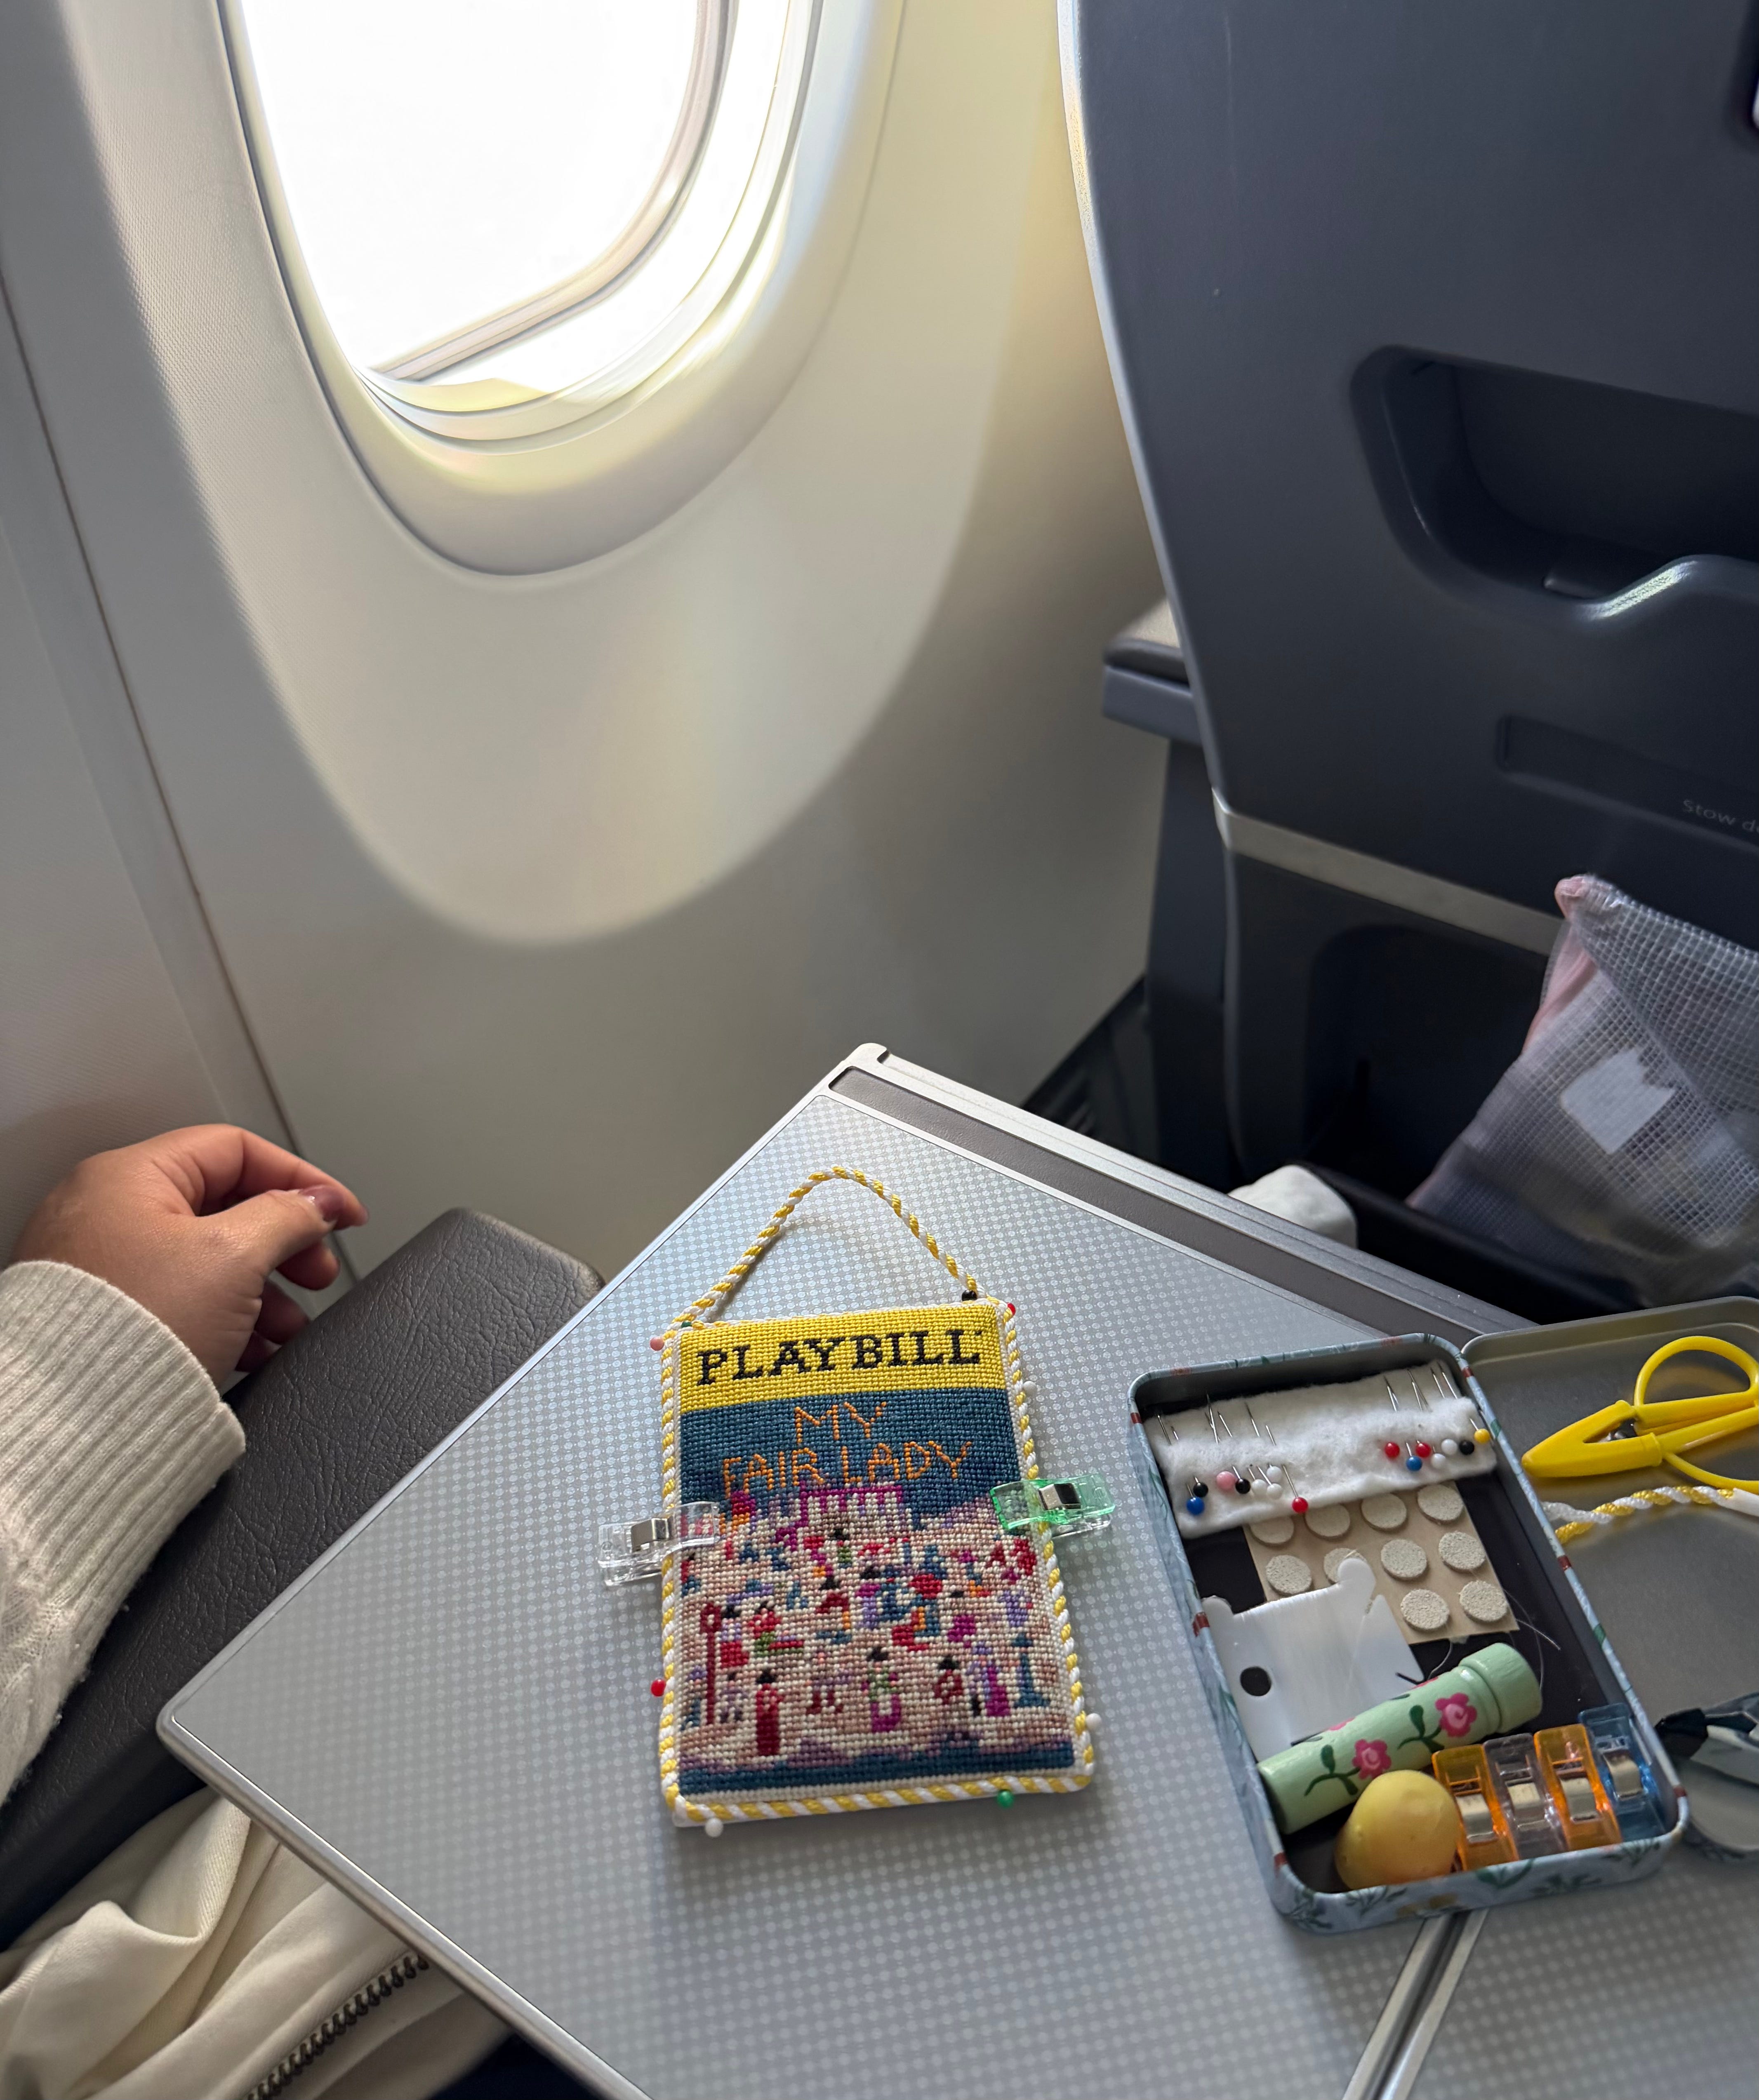
Since full sized scissors are prohibited in carry-on luggage by TSA, I prep the front and back of my ornaments and make my cording ahead of time so that all I have to do is sew.
Once at cruising altitude, I’ll pin my cording on and then whip everything together.
As I trim extra cord and threads, I’ll throw them in my tin and clear it out after landing.
I try to only keep one piece on the tray at a time since turbulence strikes when you least expect it and the last thing you want to have to do is pick up multiple needlepoint ornaments that have been strewn about the cabin.
That’s it! With the right preparation, finishing on planes can be an easy way to kill time AND meet your yearly ornament goals.
Warmly,
Lita
Why do you use the black mini clamp AND the little clips? 100 clamps?!?
I saw your story and was stalking you for this kit - thank you ❤️